Tackleberry
Member
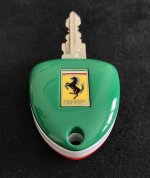
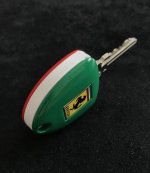
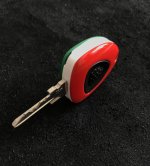
Last year I decide to have a go at restoring my Keys.
At ten years old both my Keys were starting to look a little past their best.
Using the worse one of the two I stripped it down and did the following......
The Body of the Key was feeling a little tacky, so I stripped off the sticky stuff in the usual fashion.
Wanting a nicer finish than the base plastic I prepped the surface then masked the necessary areas.
I applied 3 coats of Plastidip "rubberised" matt finish paint spray.
For the covers I removed the pressure pad, and rather than risk damaging the badge trying to get it out I masked it off.
I then carefully sanded the covers to remove all the damaged original finish until they were nice and smooth.
I used rattle can sprays for the painting. Primer, colour coat (Rosso Corsa 322), and lacquer.
I let that go off hard then buffed up with some cutting compound.
The results for my first attempt were okay, if a little "orange peely".
However, being acrylic paints the durability was poor and it didn’t take long for the finish to chip away - lost instantly actually.
I decide to put the project to one side and have another go when I had sorted myself out with suitable Airbrushing equipment.
Which brings me to now !
Time for another attempt……...
The search for a more durable paint option lead me to Zero Paints.
This product had several advantages, the main being the fact they are cellulose paints which bond much better than anything else.
Other good points are excellent colour match and pre thinned for airbrushing.
So I ordered primer, top coat (Rosso Corsa 322) and clear lacquer.
I then treated myself to a new pressure regulated airbrush and portable spray booth.
This time I removed the badge !
I followed the painting instructions to the letter, but also cross referenced that with some youtube videos of model makers and how they use the product.
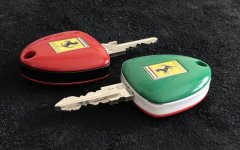
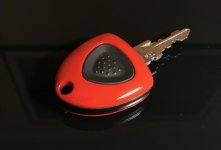
The results were superb giving a lovely even finish, almost to the point I didn't need to polish it.
However if you're going to do a job properly..................so I flatted it back with 5000 grit - more to de-nib than anything - and two stage polished it using my Rupes Nano.
Lastly I applied some Meguiars ultimate liquid wax.
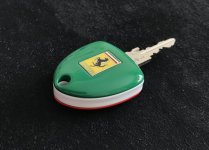
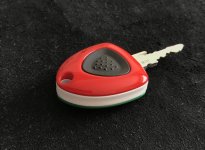
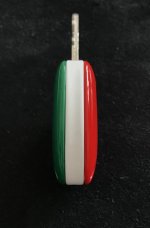
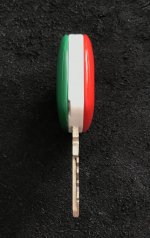
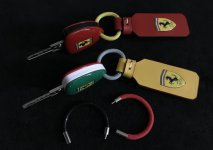
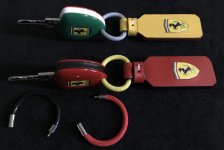
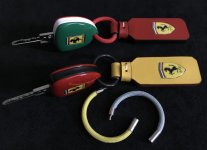
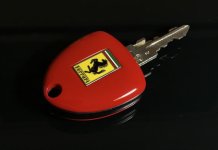
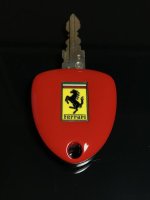
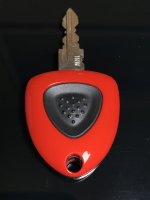
And here are the results. Which are night and day compared to the first attempt !


