Mike01606
Active member
Moving from the previous thread. I'll keep posting whilst there are people interested.......
The story so far.....
I wanted a bit of a project for my 50th birthday and have been looking at bikes from my youth for quite a while. One of my childhood best mates has a bit of a collection of 1980's two strokes including several 250 LC's, a mint X7, lots of air cooled RD400's and 250's.
My wife was asking what I wanted I said I wouldn't mind a 350LC if I could find a decent one in the right condition, hence my first post. She went to see my mate who said he would look for one for her/me. After a couple of weeks I suggested a 250 could be better value and my mate then offered Clare this bike. So rather than me find it, it found me.......
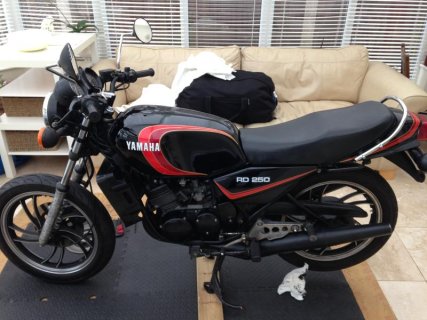
The bike is showing 15,300 miles, is SORNed and still has a 2004 tax disc on it. It was last MOT'd in 2006 and gained only a handful of miles since that MOT. A DVLA search shows no other MOT history. My mate bought it in 2007 and has never ridden it. It has 7 previous owners though.
Apart from the V5 there is no other paperwork with it, so if it were a Ferrari it would be worth about £2.50 :grin: Incidentally it was registered in 1987 on an E plate whilst they were only made realistically between 1980 and 83. Most of the plastic mouldings are dated circa 1980 so this bike was obviously a victim of the learner laws which killed demand for 250's in the mid-80's and consigned it to it's first few years in a crate.
I pretty much spent the next week pulling it to pieces, inspecting, cataloguing and boxing all of the bits.
It shows a lot of good signs that the mileage is about right. Very few of the fasteners have been undone (shown by the corrosion free areas underneath), it has the original sprockets (apparently valuable to a concours builder) and I'm pretty certain the heads haven't been off so I'm expecting it to be on standard bores (we'll see later on).
There are also no signs whatsoever of it being dropped or bent which is good.
Anyone who knows these bikes will know corrosion is an issue. The paint is tissue paper thin and a single winter of salt roads would reduce one to a heap of rust. This bike looks to have seen a few winters then left in storage.
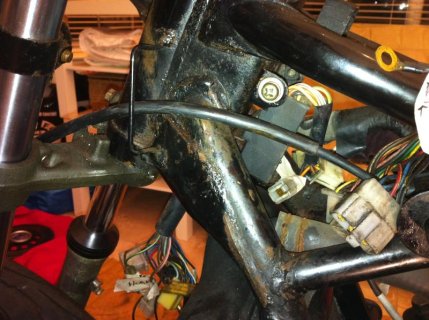
This is typical of the frame underneath the clothes.......
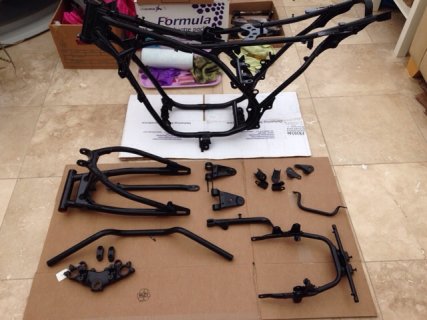
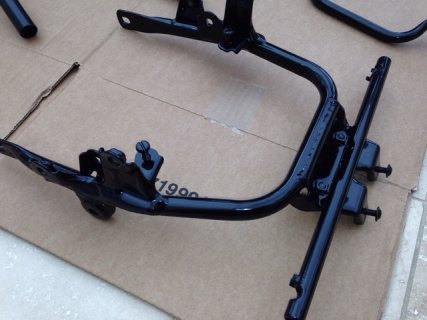
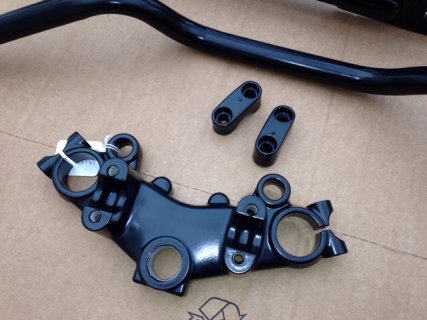
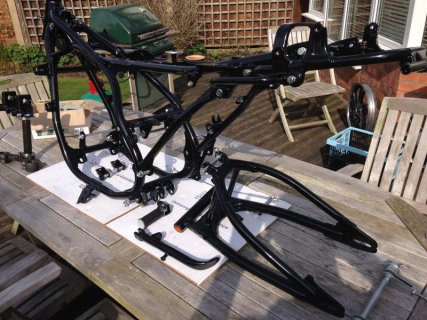
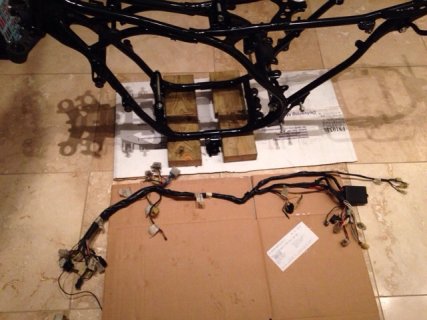
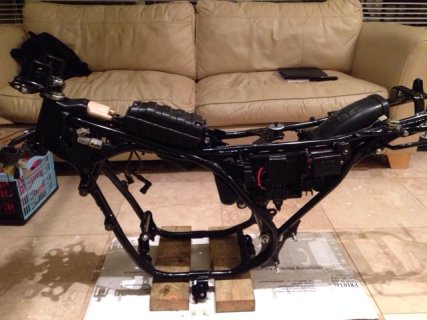
The finished standard I'm looking at is as 'showroom' as possible but not concours hence the easy decision to powder coat the frame. All of the frame components, subframe, engine mounts and brackets are at the powder coaters being finished in gloss black. I'm refinishing the bars and upper yoke in satin black (if they have read my instructions . I will find out Thursday).
One of the features of these bikes is the green drab finish of many of the metal components and hardware. See the bottom yoke above. Where possible and even if there is slight corrosion I'm retaining this without refinishing. The kick start and rear brake are good examples.....
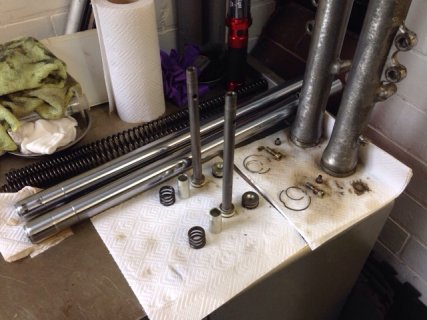
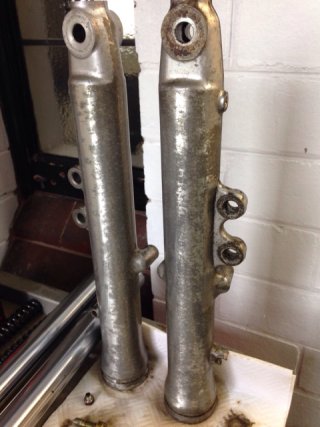
The alloy fork legs and foot rest mounts are surface corroded and I'm not sure what to do with these yet. I need to see a standard bike to decide. I will probably polish and then brush. The powder coater said you cannot apply clear over polished alloy as it yellows...True?
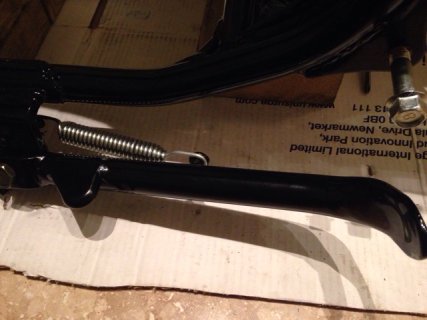
The one issue I have is the main stand retaining pin was corroded in place. I had to cut it in 4 places to remove the stand. A new one is £147 or I can try to get it out. Any ideas? The powder coater guy tried Oxy/Acetylene on it and it still wouldn't budge. I'm not sure I'm ready to give up yet as I've forked out £500 today for a gearbox repair on the kids car :cry3:
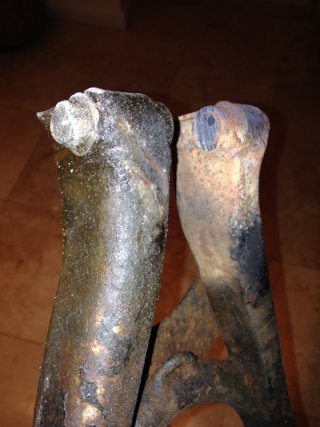
Pretty much all of the zinc plate that is exposed is also shot. Here it is laid out....
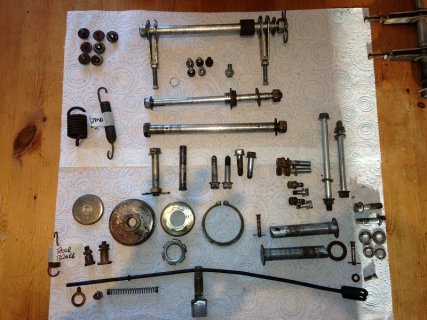
I've decided to use a local company in Crewe who come recommended via some bike forums. Turnaround is about a week and total cost is about £70 for all of the parts and fixings. I also managed to replace some off eBay with better quality parts. I'm going for BZP on all of these bits.
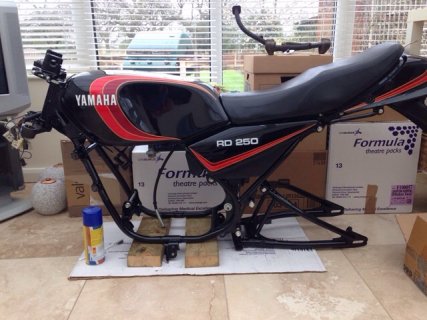
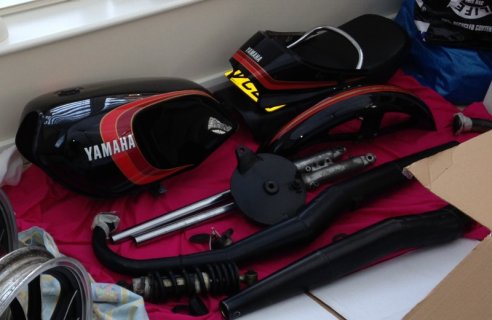
Next is the tin ware. The tank is very good both inside and out. You can get them repainted as a set for about £350 -£500 depending on how much work the tank needs. The metal is wafer thin so internal corrosion from water in the fuel is a big issue if they have been stood without oil in the tank.
The panels on this bike are really good and original. I will definitely not be doing anything to these unless I find an issue later e.g a pin hole.
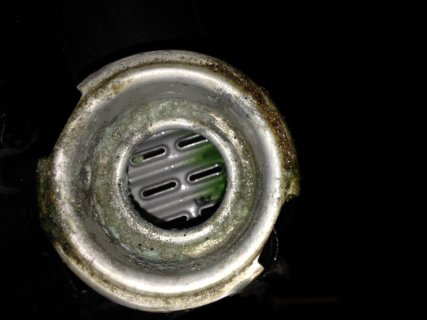
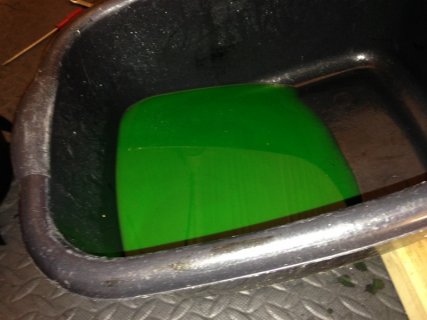
Finally for tonight the motor is out but untouched. The oil was a bit mucky but still OK. Remember the crankcase is lubricated via the two stroke injection. The coolant was exceptionally clean........
I need to repaint the barrels and whilst they are off I'll check the bores and if nothing else, change the rings and little ends.
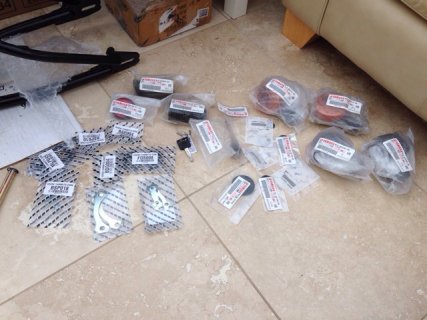
Next job is collect all of the bits back together from the painters and platers and then order what I'm missing/replacing.....
The story so far.....
I wanted a bit of a project for my 50th birthday and have been looking at bikes from my youth for quite a while. One of my childhood best mates has a bit of a collection of 1980's two strokes including several 250 LC's, a mint X7, lots of air cooled RD400's and 250's.
My wife was asking what I wanted I said I wouldn't mind a 350LC if I could find a decent one in the right condition, hence my first post. She went to see my mate who said he would look for one for her/me. After a couple of weeks I suggested a 250 could be better value and my mate then offered Clare this bike. So rather than me find it, it found me.......

The bike is showing 15,300 miles, is SORNed and still has a 2004 tax disc on it. It was last MOT'd in 2006 and gained only a handful of miles since that MOT. A DVLA search shows no other MOT history. My mate bought it in 2007 and has never ridden it. It has 7 previous owners though.
Apart from the V5 there is no other paperwork with it, so if it were a Ferrari it would be worth about £2.50 :grin: Incidentally it was registered in 1987 on an E plate whilst they were only made realistically between 1980 and 83. Most of the plastic mouldings are dated circa 1980 so this bike was obviously a victim of the learner laws which killed demand for 250's in the mid-80's and consigned it to it's first few years in a crate.
I pretty much spent the next week pulling it to pieces, inspecting, cataloguing and boxing all of the bits.
It shows a lot of good signs that the mileage is about right. Very few of the fasteners have been undone (shown by the corrosion free areas underneath), it has the original sprockets (apparently valuable to a concours builder) and I'm pretty certain the heads haven't been off so I'm expecting it to be on standard bores (we'll see later on).
There are also no signs whatsoever of it being dropped or bent which is good.
Anyone who knows these bikes will know corrosion is an issue. The paint is tissue paper thin and a single winter of salt roads would reduce one to a heap of rust. This bike looks to have seen a few winters then left in storage.
This is typical of the frame underneath the clothes.......

The finished standard I'm looking at is as 'showroom' as possible but not concours hence the easy decision to powder coat the frame. All of the frame components, subframe, engine mounts and brackets are at the powder coaters being finished in gloss black. I'm refinishing the bars and upper yoke in satin black (if they have read my instructions
One of the features of these bikes is the green drab finish of many of the metal components and hardware. See the bottom yoke above. Where possible and even if there is slight corrosion I'm retaining this without refinishing. The kick start and rear brake are good examples.....
The alloy fork legs and foot rest mounts are surface corroded and I'm not sure what to do with these yet. I need to see a standard bike to decide. I will probably polish and then brush. The powder coater said you cannot apply clear over polished alloy as it yellows...True?
The one issue I have is the main stand retaining pin was corroded in place. I had to cut it in 4 places to remove the stand. A new one is £147 or I can try to get it out. Any ideas? The powder coater guy tried Oxy/Acetylene on it and it still wouldn't budge. I'm not sure I'm ready to give up yet as I've forked out £500 today for a gearbox repair on the kids car :cry3:

Pretty much all of the zinc plate that is exposed is also shot. Here it is laid out....

I've decided to use a local company in Crewe who come recommended via some bike forums. Turnaround is about a week and total cost is about £70 for all of the parts and fixings. I also managed to replace some off eBay with better quality parts. I'm going for BZP on all of these bits.
Next is the tin ware. The tank is very good both inside and out. You can get them repainted as a set for about £350 -£500 depending on how much work the tank needs. The metal is wafer thin so internal corrosion from water in the fuel is a big issue if they have been stood without oil in the tank.
The panels on this bike are really good and original. I will definitely not be doing anything to these unless I find an issue later e.g a pin hole.

Finally for tonight the motor is out but untouched. The oil was a bit mucky but still OK. Remember the crankcase is lubricated via the two stroke injection. The coolant was exceptionally clean........
I need to repaint the barrels and whilst they are off I'll check the bores and if nothing else, change the rings and little ends.


Next job is collect all of the bits back together from the painters and platers and then order what I'm missing/replacing.....
Last edited:

