What's new
Club Scuderia

This is a sample guest message. Register a free account today to become a member! Once signed in, you'll be able to participate on this site by adding your own topics and posts, as well as connect with other members through your own private inbox!

  • Please take a minute to read this thread about our recent server issues and forum platform Switch

348 make it the best

bartosz

Member
Hi,
my name is Bartosz, I'm from Poland. I would like to share some information regarding my Ferrari 348. I think some things I've done may interest you. For sure I'm interested in your comments and suggestion. I love DIY, and cars, so a lot of things I'm trying to do my own. I do not have everything in the pictures (I did not concider to publish in the forum from the beginning). For the future activities I will remember to take a pictures.

Ferrari 348 from 1991. Originally bought in Switzerland, and was registered there till 2021. The car was driven till around 2012- 2014, and that it was parked in garage/ car dealer.
I have bought the car 2021 with "some electrica issue" and in the ocndition will run, but need major maitanance.

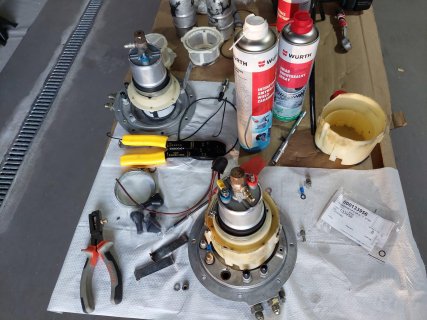
Car was purchased Jan 2021 and need some work to confirm it runs and drive. Oil, filters replacement, timing belt inspection (only for engine start up), and then.... nothing :/ Need new fuel pumps.
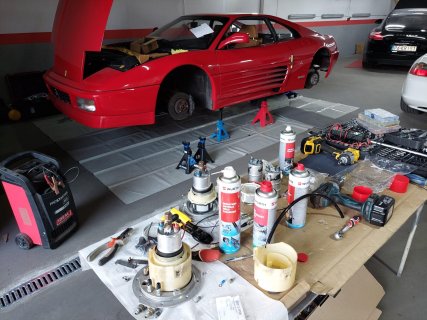
12400.jpeg12403.jpegFB_IMG_1660937557286.jpg

The engine finally starts, the car drives (few meters to check), the engine still requires major maintanance. Delivery day
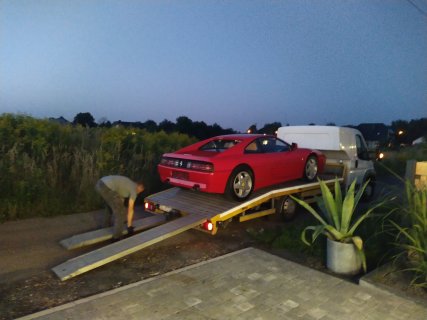
IMG_20220825_202125_1.jpg

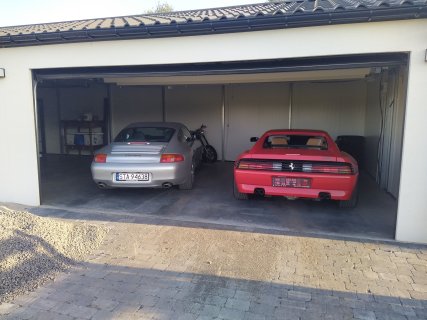
And finally home

IMG_20220826_182234_1.jpg

As you can expect, the car with more than 25 need some love, always... I have start from small things I can do my own.
1. drive door repair
a. central locking actuator replacement (universal one for around 2Euro is exactly the same like genuin ferrari :D
b. New release cable for inned door opener
c. new speekers (cheep one, because in Ferrari you should always listen to the engine)
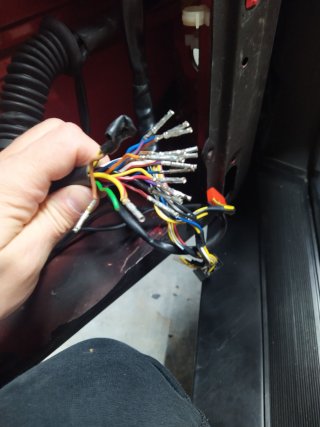
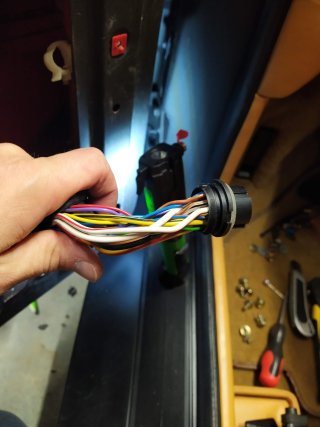
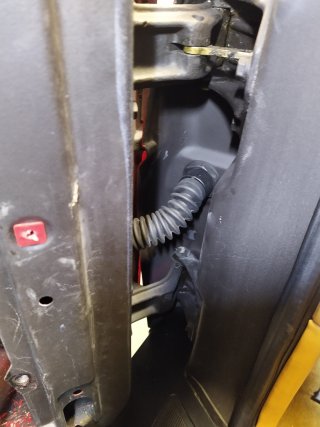
d. door electric loom repair
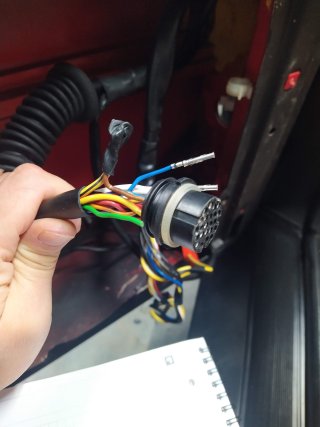
IMG_20221117_185055_1.jpgIMG_20221117_185102_1.jpgIMG_20221117_190359.jpgIMG_20221119_150152.jpgIMG_20221119_150820_1.jpg

e. cleanning the electrig windows drive (works much faster now)
f. replacing all the door panel clips and screws (Instead of genuine ferrari parts I was able to use much cheeper fiat, if I remember correcly) clips, which are exactly the same)

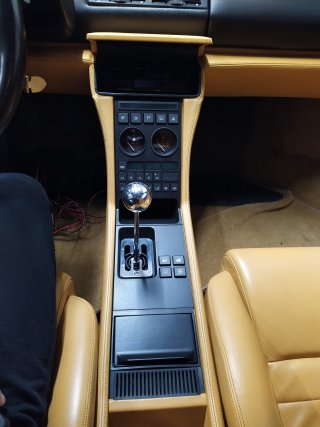
When both doors were finished I decided to start with sticky plastic... Everything was dismantled (dor handles, central panel, vents, and steering column plastic. A tol of cleening with acethone, small plastic weldig, black paint and its done :) hehe, it was not so easy. Together with some missing rubber gromet for gear selector looks perfect!

Ups, can't add next pictures, will continue with post.
 
Interior cleaning:
1. Sticly plastic
IMG_20221103_183905_1.jpg
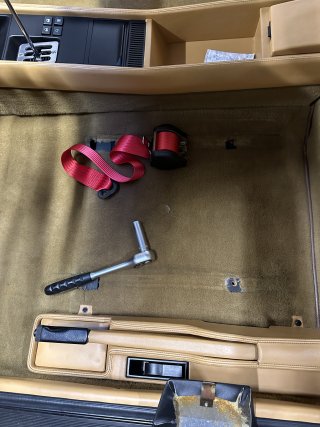
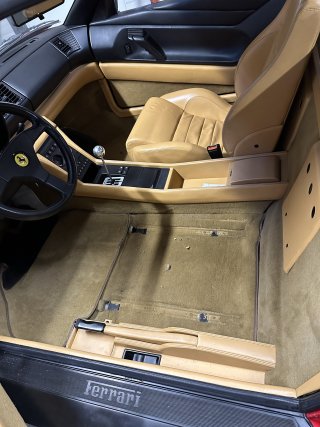
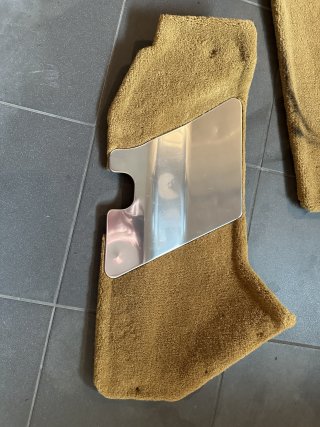
2. carpet cleaning
before, sorry do not heve the picture after, but look brand new
IMG_0959.JPG IMG_0842.JPG
some carpet pieces need some glue
IMG_1071.JPGIMG_1076.JPGIMG_1081.JPG
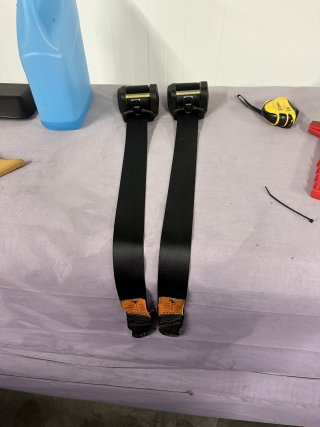
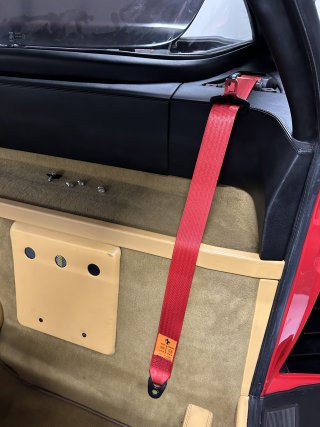
everything was finished with red seat belts (original were dirty and damaged)
IMG_0843.JPGIMG_0961.JPG
 
Last edited:
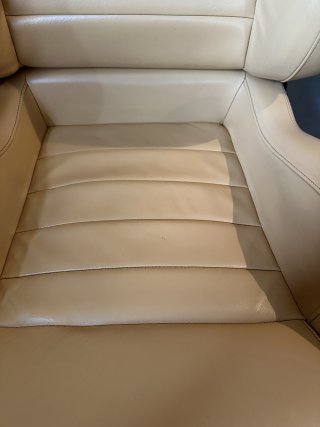
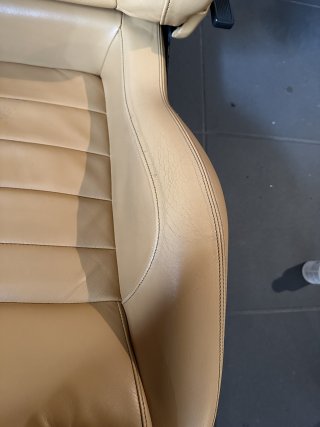
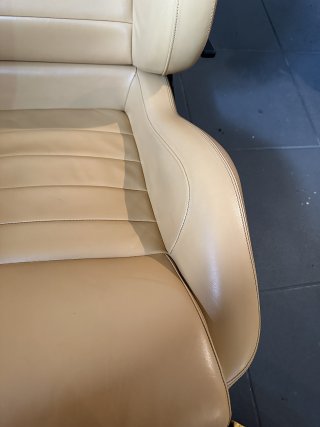
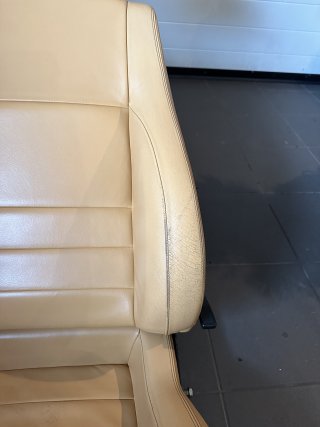
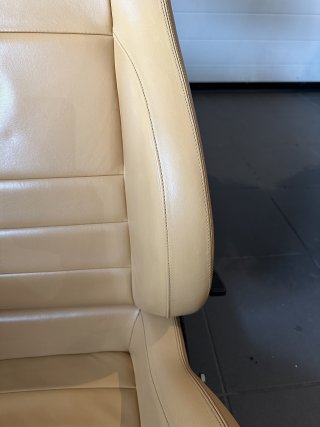
The cleening is not complete without the seats and the floor mats.
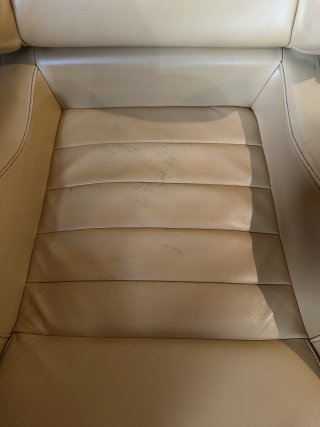
Seats need a deep clean, some paint and a lot of conditioneer.
IMG_1054.JPG IMG_1057.JPG
IMG_1055.JPG IMG_1058.JPG
IMG_1056.JPG IMG_1059.JPG

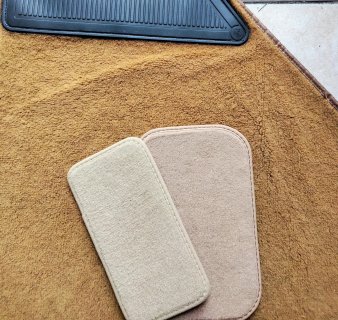
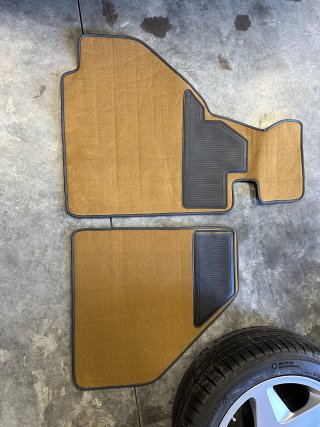
New floor mats are verydifficult to get, there is no exact color available, but still fighting :)
My looks relatively good, but are very soft (rubbery layer from bottom is gone). I had an option to select color as below, but did not take any of that option.
IMG_0995.JPG
New custom made ordered, will share when available.
 
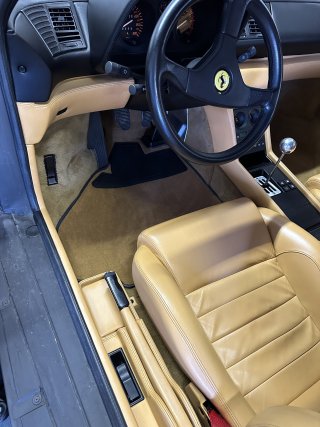
Now with the new floor mats interior will be complete. Time to do something outside.
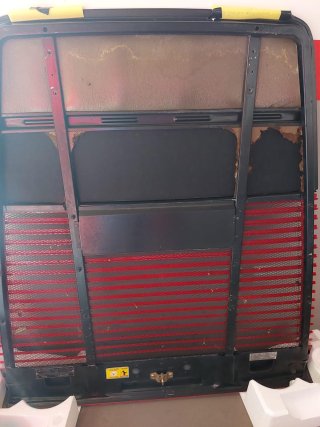
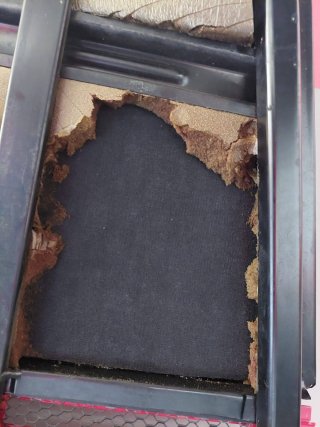
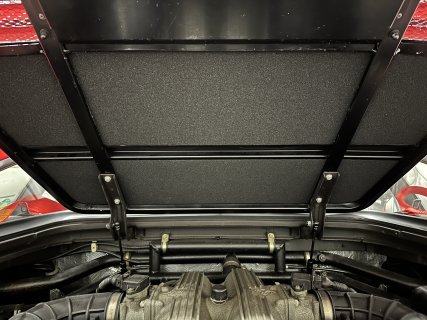
Engine cover isolation need some love as well, so the engine cover disassembled, cleaned and with new isolation, new hardware and new shocks placed back together. I've decided to replace as well old grease from cover locking mechanism, and align everything together. New release cable installed as well.
IMG-20220801-WA0012.jpgIMG-20220801-WA0013.jpg
IMG_0965.JPG
 
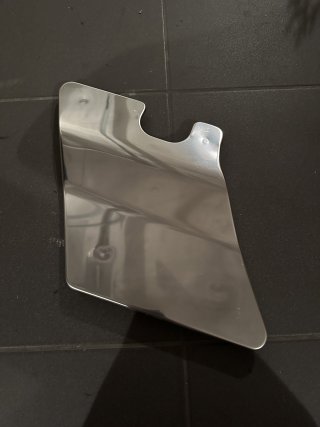
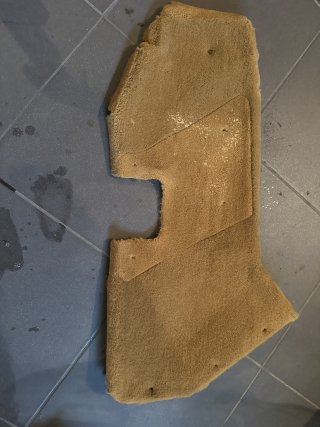
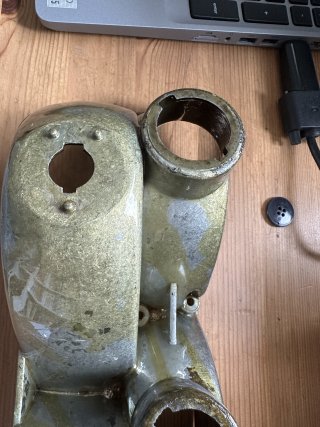
From the beginning of owning my Ferrari, after turning the ignition on, I hear clicking noise, after a few seconds the noise gone. Few days ago I decided to track that noise. After remooving the carpet from the front trunk, I found the noise. The noise comes from the small actuator which select air source for HVAC unit (internal or external flow). After opening, I found one gear broken
😞
New actuator costs 350USD. The price can be accepted for a Ferrafi part
😜
but, that is still 350USD for small actuator- no way.
Fortunatelly I was able to design and 3D print missing gear, and.... everything works like new
🙂

384129576_244358578598584_5496629323328376676_n.jpg

you tube link

There is a lot more like rocker panels, for lights, etc. But not for today :)
 
Good to see you’re enjoying bringing your motor back up to a good condition. Will watch your updates with interest.
 
Congratulations, Bartosz (y) - it looks like you're already doing great things. If I may make a suggestion? Do not be afraid to ask for help in this forum as you go along. I've had mine for nearly 20 years, and people like Nosevi, A348W, m.stojanovic, Ferrarium and many others (some of whom may no longer own theirs, and therefore moved on), have saved me a fortune over the years. There are some absolute GIANTS in here who will help you, so take advantage of the free education and help. Good luck mate.
 
Congratulations, Bartosz (y) - it looks like you're already doing great things. If I may make a suggestion? Do not be afraid to ask for help in this forum as you go along. I've had mine for nearly 20 years, and people like Nosevi, A348W, m.stojanovic, Ferrarium and many others (some of whom may no longer own theirs, and therefore moved on), have saved me a fortune over the years. There are some absolute GIANTS in here who will help you, so take advantage of the free education and help. Good luck mate.

Thanks for warm welcome. For now I'm doing some small updates/ repairs. Nothing complicated. For sure when meet some problem will ask. Before I write first post I have red a lot of post on that forum (all post from irarref for egzample :) ).
More comlicated repairs comming soon. Curently working to restore front fog light. New are not available, my was not in good shape, so...
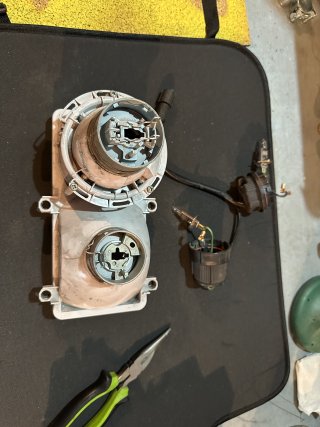
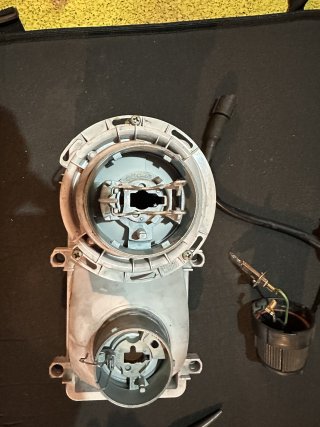
 
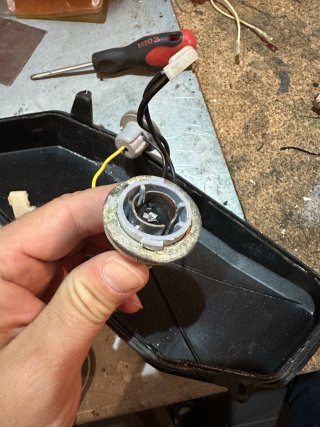
Hi, time to do some update. This time headlights, to be more precise fog lights/ indicators. Mine was quite OK, but there was some bud to be replace, so I decide to change all bulbs, and then.... everything starts :)
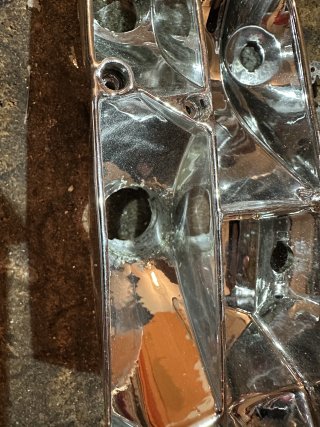
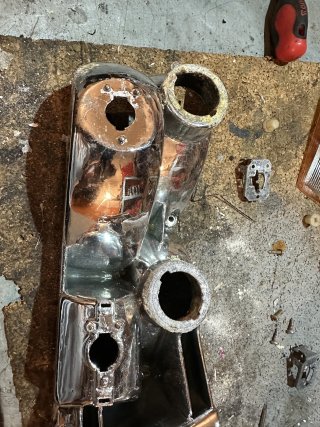
I found one lamp was not sealed properly, so there was several issues. To find good used lamp is almost impossible, new price can kill you, so I decide to resore my original one.

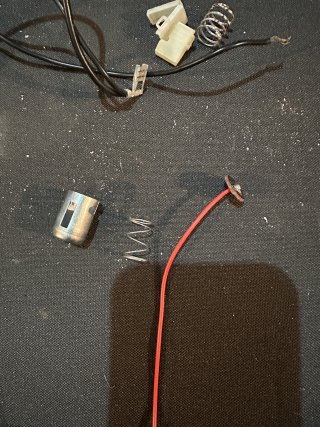
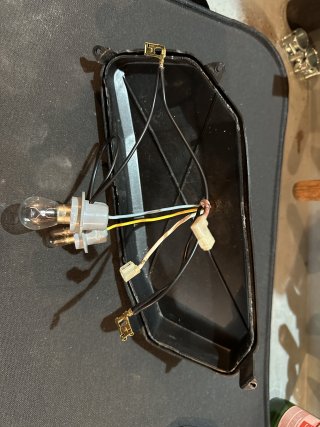
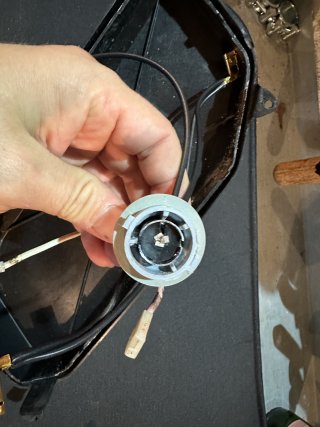
1. bulb socket coroded
IMG_2517.JPG IMG_2528.JPG

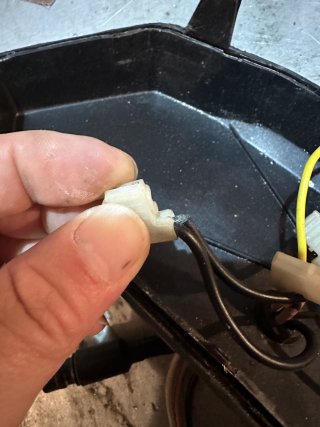
2. electric installation coroded
IMG_2519.JPG

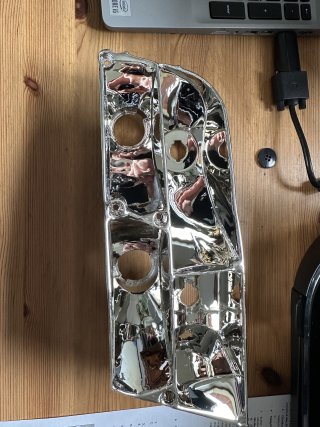
3. Aluminium reflector oxidized
IMG_2511.JPGIMG_2512.JPG

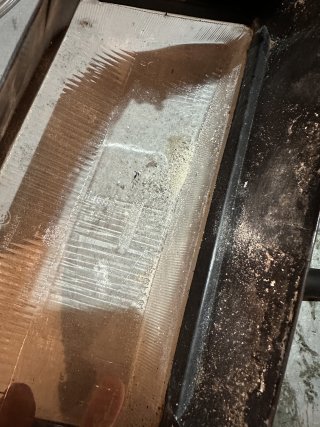
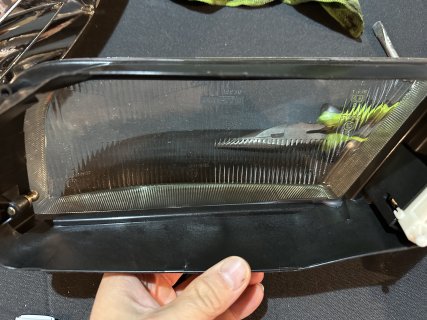
4. Dirt everywhere, so the glass was a bit matte becasue of that
IMG_2520.JPG

No time to lose, some purchase, some external company involved, and it is fixed.
 
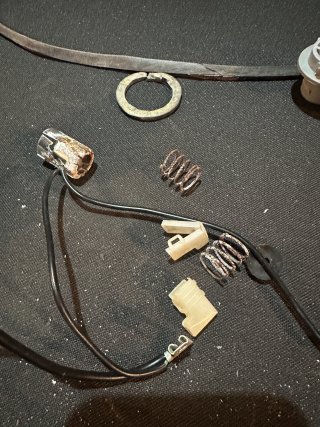
Fortunatelly, I was oble to find almost exactly the same bulb socket to fit into original plastic, so was able to use factory positive cable without sotering. Negative cable need to be replaced, so new wire and new socket, and together with new bulbes evyrything looks like new.
IMG_2647.JPGIMG_2666.JPGIMG_2667.JPG

The glass was clinew with a dish soap to be cristal clear :)
IMG_2668.JPG

And, the most important. Oxidized aluminium was clened and covered with the new reflective layer byt the local workshop. There are some scafs, but everything is secured for the furthure oxidation, and will work like it should be.
IMG_2662.JPGIMG_2664.JPG

Everything assembled together, and waiting for installation in to the car. On the table still main headlight cleaning, number late lamps restoraton and rear lamps.
Stay tuned :)

BTW total price together with new bulbes around 50Euro.
 
Sunday is the perfect time to love yuor car. As I mentioned earlier, there is still something to improve in the lights all over the car.
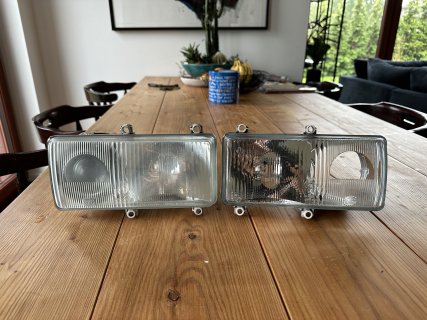
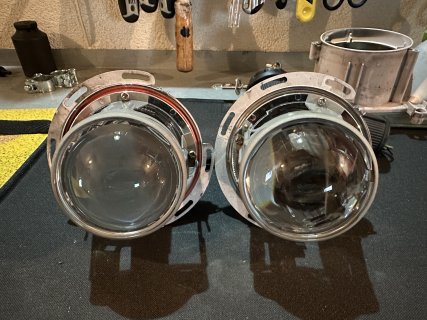
My head light does not look perfect. Everything was sealed properly, no cracks, but it looks a bit fogy... I decidet to do something with it. At first need to take it out from the car, and I think that was the most difficult task :D

Before/ atfer
IMG_2677.JPG IMG_2681.JPG

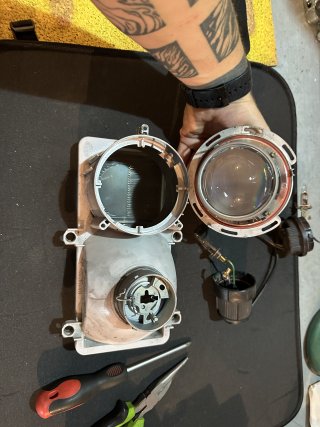
Everything is bolt on, no need to cut or unglue the light.
IMG_2678.JPG IMG_2679.JPG

There are 3 bolt to take out the lens. Fun fact is, you can change lights the EU to UK (and opposide) by changing the lens RH to LH (exactly the same in both head lights)
IMG_2680.JPG

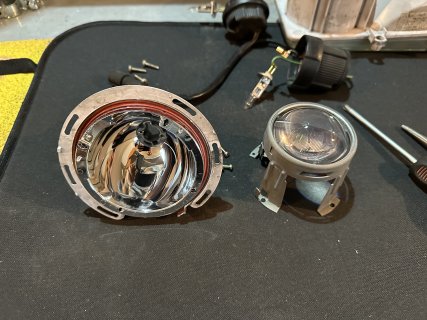
The lens as well is assemblied with 3 screws, so easy to be taken out for cleanning
IMG_2682.JPG
Gently whipe the mirror with microfibre towel, and clean the lens.
The main glass part of the headlight was cleaned with kitchen soap and bottle cleaner. The final result visible on the first picture, I think it is worth the effort. Now, connectors cleanning, new bulb, installation and proper adjustment.
 
most probabbly the next update will come with the wheels. Today I found out 25mm spacers on the rear axle. Is that a factory configuration, or prevoius owner invention?
 
most probabbly the next update will come with the wheels. Today I found out 25mm spacers on the rear axle. Is that a factory configuration, or prevoius owner invention?
Previous owner. Spacers slightly improve rear lateral grip so quite a few owners have added them at some point of another.
 
Small update
Finally, the floor mats are ready. Colour matches almost perfectly (camera did not show perfectly), the quality is super, it was possible to fit original rubber pads.
IMG_2715.jpegIMG_2721.jpeg

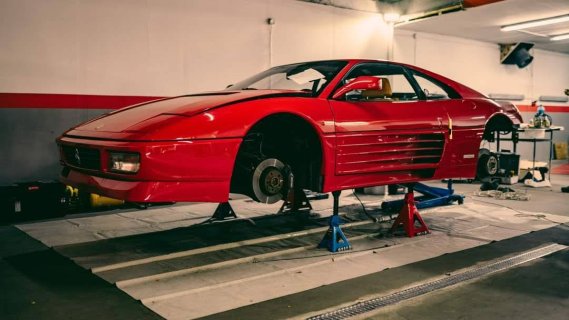
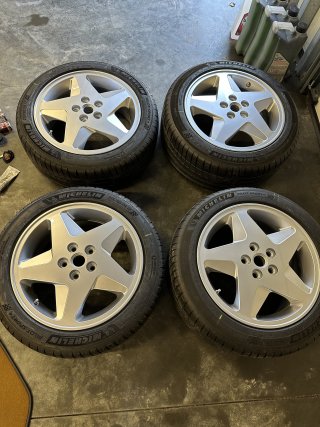
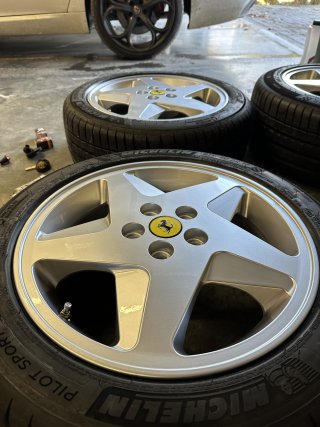
Refurbish wheels and new tyres. Working on brakes (cleaning, pads, sensors, brake fluid), after that wheel assembly.
IMG_2717.jpeg
IMG_2722.jpeg
 
Bartoszki, has anyone pointed out that your steering wheel is on the wrong side of the car, mate?

Don’t worry. ‘The Boys’ will know how to fix it 🤙🏽.

Superb watching your work bro.
 
Back
Top