What's new
Club Scuderia

This is a sample guest message. Register a free account today to become a member! Once signed in, you'll be able to participate on this site by adding your own topics and posts, as well as connect with other members through your own private inbox!

  • Please take a minute to read this thread about our recent server issues and forum platform Switch

Ferrari 348 engine bay and rear end restoration.

Pangea

Active member
Hi guys,
Firstly I would like to say what a great site. Full of interesting info and informed members. We all need to turn to it from time to time Im
sure. Ive owned my car for getting on for three years and ive always had a plan in mind to do what Ive done in the last few months. I combined it
with the need to renew the cam belt and carry out a service which as we all know requires the engine out to do this properly. As for myself ive been in the motor trade all my working life (35+years) and restoration is not an alien subject to me having done quite a few cars over the years. This is my first
Ferrari resto though. This phase will just deal with the rear end of the car taking in the engine bay and associated framework, rear suspension, rear panel etc. I wont harp on about stuff thats already been covered on the site in much detail, ie cam belt replacement , timing , brake bleeding etc as I dont see the point in repeating spot on information. The whole process was carried out in a fully kitted workshop using both ramps and floorspace.
Hope you enjoy the post.DSCF8169.jpgDSCF8171.jpgDSCF8237.jpgDSCF8207.jpgDSCF8235.jpgDSCF8232.jpg
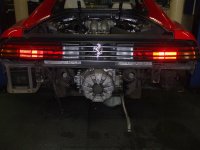
Pic 1 Car on two poster ramp. I did most of the prelim stripping here. Fluids drained etc etc.
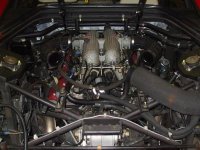
Pic 2 View of engine being stripped. All looks a bit scruffy.
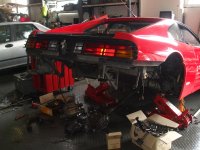
Pic 3 Car positioned in floorspace with rear unit removed. Two jacks used plus the added security of stands. A must.
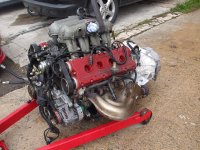
Pic 4 Unit removed.
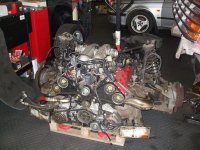
Pic 5 Engine and gearbox removed from subframe.
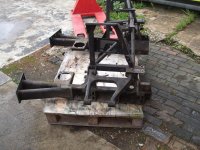
Pic 6 Subframe totally stripped apart from top suspension arms. The mounting bolts were seized to the middle of the bushes on both sides so had to be carefully cut of with a air hacksaw. Not hard but time consuming. General condition of frame was good. Solid with only some surface corrosion. Just looked mucky. More to come later.
 
Just to say at this point in the project ( Ten days in) I fell over on some damp grass and broke my right wrist. Now it became somewhat difficult to
work but I battled on. Its amazing how agile your left hand becomes with some practice.:wink3:. At least I had managed to strip everything down before my accident so could get it all off to the powdercoaters and have an easier two weeks while waiting for the bits to come back. Got on with
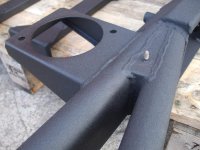
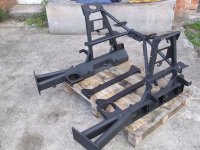
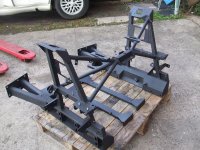
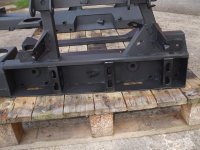
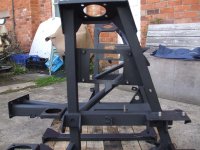
some lighter work in the mean time. There was a lot of it. Here are some pics of the restored subframe. I was looking for a factory sort of finish so I went for a textured look. This works for me. DSCF8285.jpgDSCF8284.jpgDSCF8283.jpgDSCF8286.jpgDSCF8287.jpg
 
DSCF8295.jpgDSCF8296.jpg

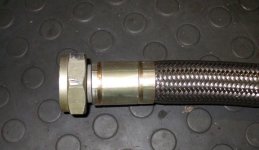
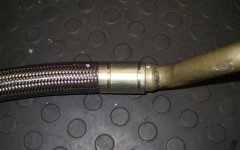
Main oil pipe between tank and engine had a cracked flange. Not a bad leak. Only a weep but still made a mess on floor over time. This repair was
carried out by Pirtek Gloucester. He knew all about Ferrari pipes and the issues that go with them as he had repaired many over time. Mostly for a
local specialist. He reused the tank fitting as they cant supply this sort of item. Perfect job and fitted spot on. Dont overtighten or they WILL crack
the nut. Then you are looking for a very expensive pipe. Same goes for any other oil hoses on the car. If one is leaking from the connector and
there is no obvious crack try loosening the nut and re-seating the pipe a tad. This has worked for me in years gone by. If not you need to strip out and inspect the components. You will obviously need to drain the oil for the last operation.
 
DSCF8365.jpgDSCF8371.jpgDSCF8372.jpg

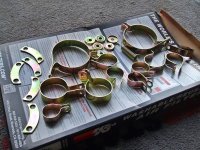
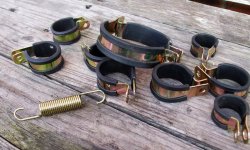
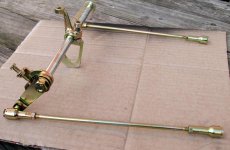
I wanted to retain as many original parts as possible so here is a selection of items I had re-plated. Rubbers on the P clips and fuel filter brackets
cleaned up lovely. Still nice and soft. Treated with rubber care solution. Autoglim. I wanted to put the throttle linkage in a glass case in my living
room. Looks great.
 
DSCF8392.jpg

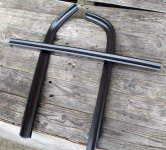
Here is the trim from around the rear screen/ engine bay. This had the same feel as the sticky bits inside the car. You could leave a thumb print
in it. I cleaned this off using some gun wash thinners as not much else works on this coating. Came off fairly quickly. I prepped it and it was then
painted in a two pack satin. The three parts to the trim are held on by 12 5mm nuts accessed under the edge of the engine bay. Would be much
easier to get this off and refit with the engine out of the way as I did. Some of the nuts were a bit tight on the thread and needed WD 40 and some
time spending on them. Did it in the end. Clean up and lub the threads on the trim before refitting.
 
Lovely work. You are clearly no stranger to painting/refinishing parts either.
When you removed the engine/transmission from the frame, did you lift it off with the sling under the intake manifolds (!) or was the sling there just to keep it all upright? What did you use to clean up the
intakes and what did you coat them with - look really great. Great to see a thread like this to liven things up a bit.
 
Great thread

Looking good, I know the hard work involved, great thread and posting takes a lot of time that I have failed to do well.
 
DSCF8329.jpgDSCF8363.jpgDSCF8362.jpgDSCF8361.jpgDSCF8352.jpgDSCF8343.jpgDSCF8341.jpgDSCF8340.jpgDSCF8339.jpgDSCF8364.jpg

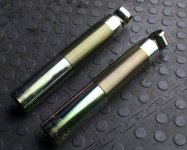
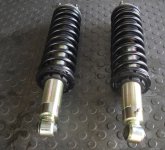
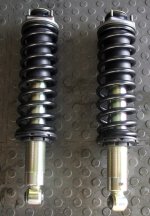
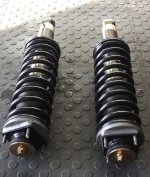
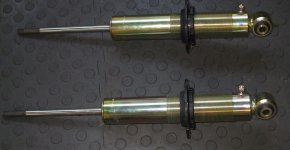
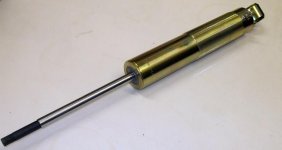
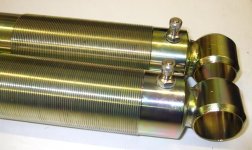
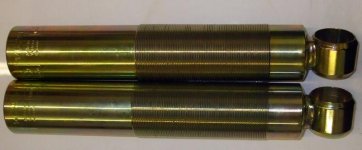
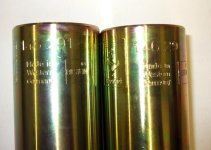
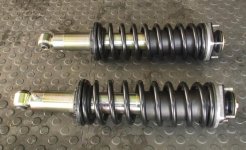
Rear shock absorbers have been stripped, cases re-plated, springs powdercoated, top mounts refinished and new lower mount bushes fitted.
If you order these bushes for your car try and measure the diameter. In my case they were 35mm but I was first sent bushes of 42mm. Later car
fitment maybe? Not looked into it yet. Also we fitted Schrader valves to the casings so the strut can be serviced without sending them off to Bilstein every time there is a problem. This allows re-gassing. Also good if you want to play with the valving in the strut. Maybe not for everyone but it
suits me for now.
 
Lovely work. You are clearly no stranger to painting/refinishing parts either.
When you removed the engine/transmission from the frame, did you lift it off with the sling under the intake manifolds (!) or was the sling there just to keep it all upright? What did you use to clean up the
intakes and what did you coat them with - look really great. Great to see a thread like this to liven things up a bit.

Hi there, I used a pallet and truck to lift the whole unit up as high as it would go. Took the weight with the engine hoist then undo the engine
mount nuts and rear gearbox mount. All bolts including the big boy. Take out the rear crossmember from the subframe. The clutch housing seemed
to catch this. Its only four nuts and bolts. I then let the pallet truck down away from the unit taking the subframe with it. After a bit of help and a
jiggle we were able to pull the hoist back and place the engine and box after a quick jetwash onto another pallet. Its a heavy job and you need the
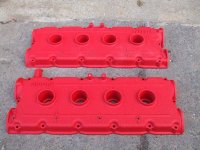
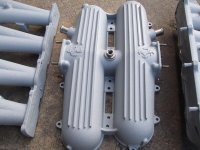
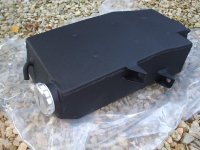
kit. As for the plenum chamber/inlet manifold, cam covers , oil tank and subframe I used a company called Redditch Shotblasters. This is a
powdercoat textured finish. This is a very hard substance which is baked in an oven. This process also creates the finish. You would have to remove
all the components from the manifold including the air compensator valve assy in the middle of the two chambers. The units need a light blasting to get a decent key for the paint plus the baking after may destroy the small rubber seals on the butterfly shaft. Also there is always a risk of blast
grit getting in past the masking and jamming things up. If its all apart there is no chance and you can assemble it after cleaning properly.
Satisfying job. Hope this helps.

Yes. Terry, a stalwart on here, uses Redditch for powder coating. My question was prompted by the photo with the lifting strap wrapped around the plenum chambers.
 
Great work, please keep posting. Are you ultimately aiming for concours car?

Thanks. Im not really going for a concourse car. Just something well sorted. Concourse seems to mean different things to different people. Its just
an opinion at the end of the day. If I was Ive a way to go yet but I dont think I want to chase that prize. Nice and clean will do.:thumbsup:
 
Top