What's new
Club Scuderia

This is a sample guest message. Register a free account today to become a member! Once signed in, you'll be able to participate on this site by adding your own topics and posts, as well as connect with other members through your own private inbox!

  • Please take a minute to read this thread about our recent server issues and forum platform Switch

How to clean 360 headlights in 90 mins

I'm not in the mood to remove the units for the alcohol method so I've been experimenting with the "dowel and dish cloth" method and some new experimental methods for a couple of weeks and it has made a big difference. I'll post the pics once I'm finished.

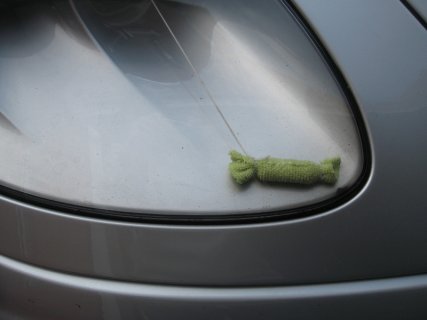
A couple of alternative suggestions. I tie the cloths to a piece of string to pull it out when finished and use a bent piece of coat hanger wire (taped to prevent scratching) to push it all around the inside of the unit.

What it did not clean very well was the watermarks off the inside of the lens and the area at the back of the unit where the lens cover and inner moulding are close together. This area particularly had a layer of fine black dust on and as my car is silver it showed.

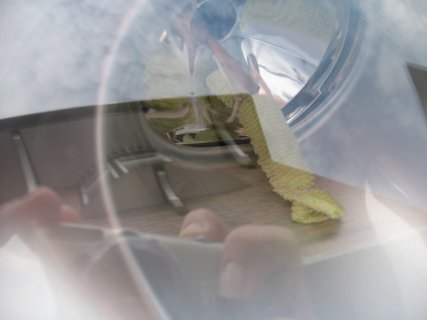
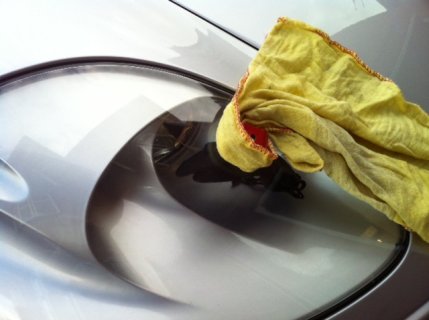
What I've just tried until the light went is a new technique. I bought some super strong magnets off eBay about 25mm by 8mm ( item number 150877904422) and tied them in a sunglasses bag (like the Oakley soft bags). I pushed it to the front off the unit through the high beam lamp hole and picked it up with a big horseshoe magnet on the outside of the unit (wrapped in a cloth to stop scratching) and wiped it all over the inside cleaning both the inside of the lens and the difficult to reach bits. It worked that well I intend to put some polish or alcohol on one tomorrow then use a clean one to buff it off.

The magnets work a treat just be careful they don't come out or they will stick to the metal underneath the unit and you may be in trouble.

I'll say so myself but the results are excellent as it was the one thing that let the car down for me. The wife thinks I'm a bit OCD but secretly I think she was impressed with my engineering prowess :grin:
 
Last edited:
Great post on headlight cleaning

I tried the string mod. Good level of success.

Don't worry about OCD. Everyone on here is a bit by necessity.

Although I do think it's better if you describe it as CDO. Sort of lines the letters up better alphabetically.
 
Pictures as promised.........

Pictures of your magnet technique and results please :)

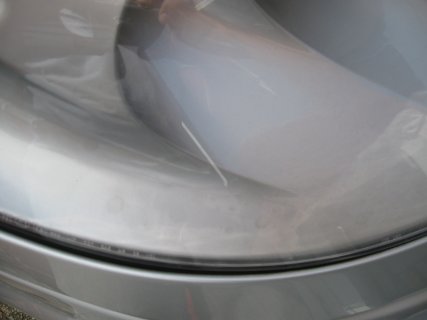
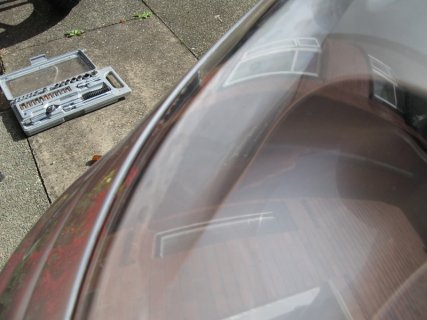
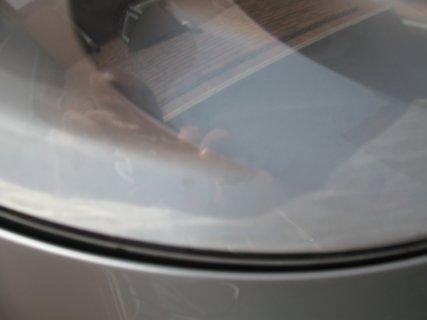
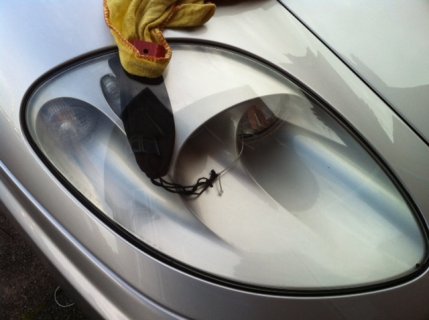
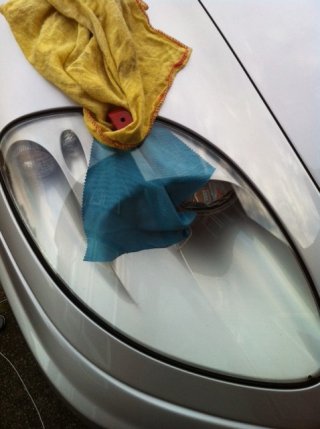
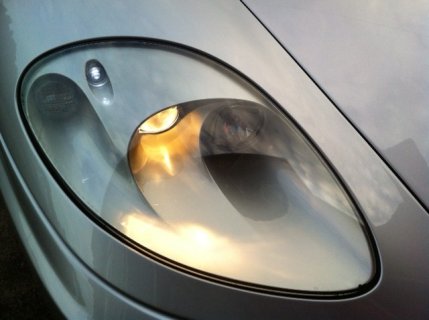
These are the before pictures. Hard to see but there are watermarks on the inside of the cover and (not pictured) a layer of very fine black dust throughout but mainly on the top part of the moulding. Looked bad due to the car being Silver.

Before1.jpgBefore3.jpgBefore2.jpg

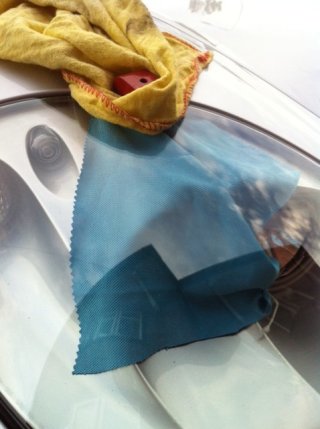
I cleaned a lot of the loose dirt out with the dowel and dishcloth method then tried to use a bolt then some nuts wrapped in a piece of microfibre to wipe the inside. Too heavy to pick up and would not sweep the surface. Failed!

fail5.JPGFail2.jpgFail1.jpg

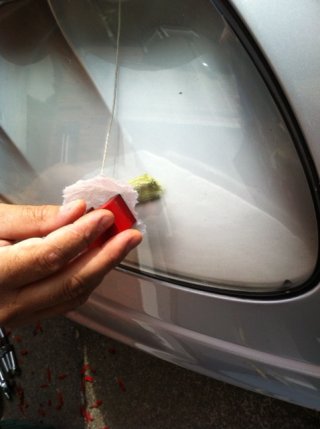
I then ordered and tried the strong magnets in a glasses case along with a bit of foam and wet the case with detail spray to pick up the dust and wipe off the watermarks. Secret is to have it the right size to go into the top part of the housing without jamming in. I used a horseshoe magnet to pick them up.

damppad3.JPGDamppad2.JPGDampPad1.JPG

Finally used a dry glass wipe with the magnets superglued into a fold in the corner to dry the inside....Lots of flicking around inside.

dry2.JPGDry1.JPG

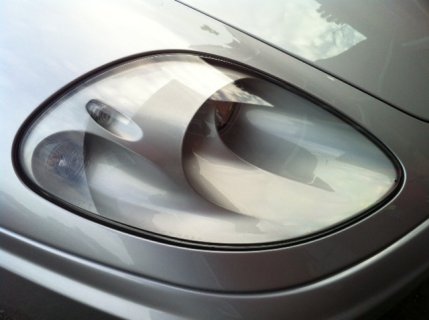
Finished result.......Pretty chuffed and whilst not perfect as you can see smears with the lights on. I will have another go another time and make them better. Tonight I knew when to quit...

Finish1.JPGFinish2.JPG
 
Fabulous! That's how we won the war :)

Lee

Thanks Lee,

Looking at them now they are near perfect. It was one of those things that drew my eye and it had to be sorted. There is still some room for improvement and I'm now designing the perfect magnetic wiper that will poke through a high beam hole!

Like the rubber boot repairs. I've just sealed the vulnerable ones with black self amalgamating tape.

M
 
Headlight cover inside wiper....

I made this today to finish the inside of the lens covers.

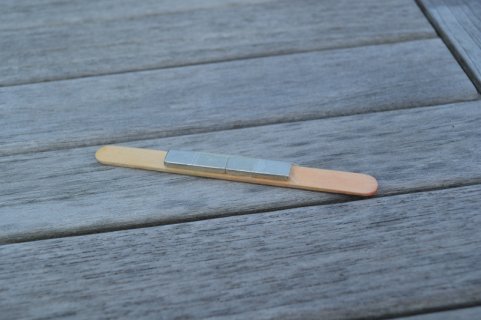
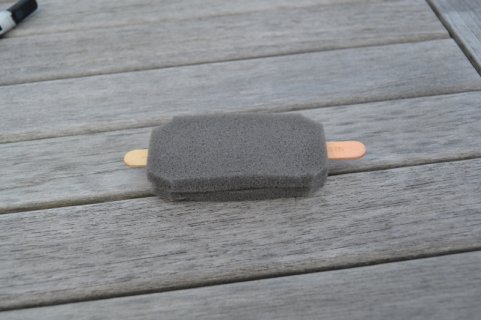
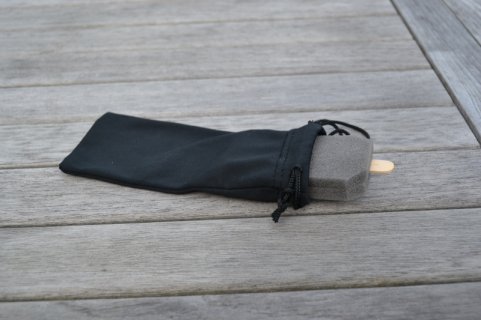
A lollipop stick with the Neidymium magnets taped in the middle.

1 (800x533).jpg

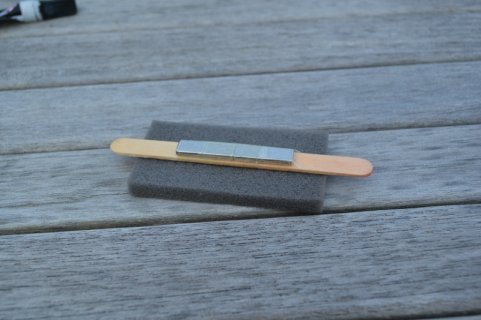
A couple of foam pads cut to size then glued around the stick.

2 (800x533).jpg3 (800x533).jpg4 (800x533).jpg

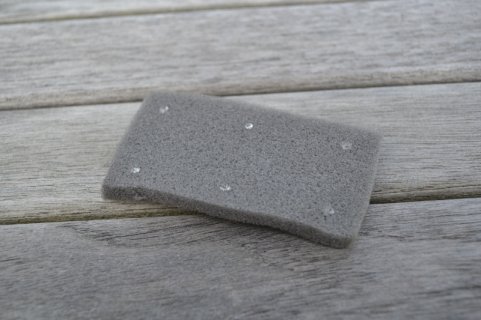
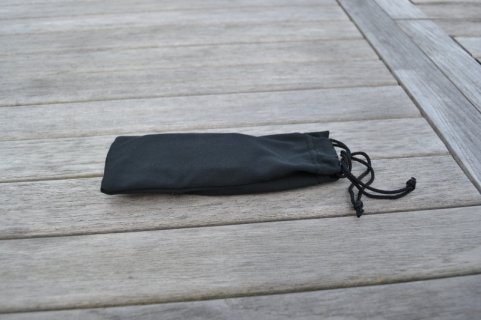
Trimmed and put inside the glasses pouch.

5 (800x533).jpg6 (800x533).jpg

One side of the pad was wet with cleaner (I just used detail spray) and the otherside left dry.

The pad goes through the high beam hole (attached to a piece of string!) and opens out again giving a flat pad that you push to the front of the lamp with a dowel the pick up with a magnet as before.

Once the lamp is wiped with cleaner, flick the pad over with the dowel and buff dry.

I left the lamp out for an hour or so to make sure there was no moisure inside then closed it back up again.

The lights now look really good day or night. Using a bit of patience with a combination of a dowel, cloths and magnets you can pretty much reach anywhere within the lamp unit.

M
 
You are a genius

Mike, this is pure genius. If it weren't for the fact that we have to take the car to Silverstone today for the Guiness book of records attempt, I would be into my headlights already.

Will be ordering some neomydium magnets PDQ and throwing out my cloths and dowel.

Thanks for developing this into such a perfect solution.

All the best, Demon

Cheers but copied from a goldfish tank cleaner TBH :grin:

I think you started it and the cloths are still the best for cleaning the dirt out so don't throw them away just yet....
 
Hi Mike, yes I did start it but delighted that you have taken it to the next level.

Have now received my magnets, foam and sunglasses bags from Amazon, so just need to eat a Magnum and wait for the rain to stop.

Will let you know how I get on. All the best
 
Finally, perfect headlights

At last, after receiving my neodymium magnets, lolly sticks and sunglasses bags from Amazon, I have found the time to do my headlights as described by Mike and the results are perfect.

It took about an hour per headlight as the magnets tend to move around in the bag, so the lolly stick mod is important as it keeps the magnet relatively still inside the bag so that you can get some traction and drag the fabric over the inside surface of the lens rather than just moving the magnet around inside the bag.

No solvent or liquid was required as the fabric gently removes the grime without the need. It did take perseverance to remove some of the stains however.

No photos I'm afraid as my forum skills are not quite up to that standard, but as Paul Every has said, my lights appeared to be unusually bad and now they look brand new.

Thanks again Mike for developing this idea into a perfect and cost effective solution. It has taken about 18 months to get the headlights right including attempts to buy and refurbish a new set of lights at considerable cost, let alone the strip down of the car that would be required to fit them.

In the end, all it took was a few bits from Amazon, a couple of hours and Mike's sterling advice.

No excuse now for stained and tired 360 headlights.

All the best. :grin:
 
Ferrari 360 Headlight - Modification / Repair / Improvement

Hi folks,

Just been browsing the forum and came across this thread...

I brought my first Ferrari 360 last year (front end damaged) and we had some right fun with the headlights...

Cut a long story short, we could only source a replacement headlight in Silver/Blue, however our 360 was Rosso Corsa.

Apologies to link to another forum but happy reading...and please shout if you have any questions...always happy to help :)

http://ferrarichat.com/forum/showthread.php?t=322374


Just waiting on an answer on another Ferrari 360...this time she's black with cream! :)
 
Remember it well!

Turned out really nice :thumbsup:

Splitting headlights is for the fearless though or those with no choice.......
 
Thought I would share my experiences in the hope that someone will benefit.....

Just had my 360 Modena paintwork corrected by Paul Every who has done a fantastic detail on the car, but it was let down by the usual debris in the headlights and water marks on the inside of the headlight lens.

We tried to vacuum out the crud using a small tube connected to a vacuum cleaner but just succeeded in moving it around.

I spoke to Tim Walker who was very helpful and offered to part exchange my lights for a set that he had. However his were Grigio metallic and my car is Rosso Corsa, so he arranged to have his set split, cleaned and repainted. I booked my car in at Rardley to have the light units swopped over.

Unfortunately, Tim was beset by the usual problem and one of the lights cracked on splitting, so we were back to square one. Mike at Rardley suggested that even if we remove my lights and try to clean them out of the car, the likelihood is that we will do more damage than good and we agreed that I would leave them in place and ponder on a solution.

So. today I implemented plan D and set to it myself, with surprisingly good results in only 90 minutes.

So here goes with the instructions...

Firstly, you will need a pack of lint free, open weave dish cloths, a 15 inch (8mm diameter dowel - the length is critical) and a retrieval tool to pull the cloths back out (This is a flexible tube with and actuating rod down the middle and a retractable claw grip on the end).

You don't need to remove the wheels or even jack the car up, but it will help if it is parked on a level surface.

The procedure is the same for both sides.

1) Turn the steering to full lock with the wheel pointing inwards on the side that you are working on.

2) Remove the access panel inside the wheel arch - two small bolts

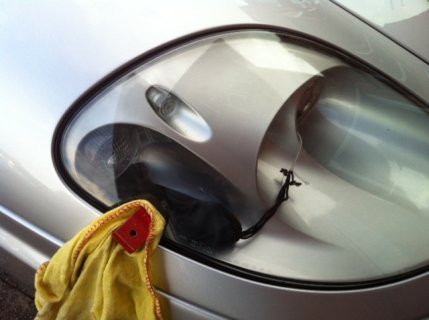
3) Remove the full beam light bulb as described in the manual and let it hang out of the way

4) Using the dowel, carefully introduce one of the cloths into the light housing through the bulb hole

5) Once the cloth is inside, use the dowel to sweep it around from side to side - the open weave will pick up the debris beautifully

6) Once the cloth has picked up some dirt, remover the dowel and gently retrieve the cloth with the retrieval tool and bin the cloth

7) repeat steps 4-6 with a new cloth each time to remove as much as you can, or until the cloths come out as clean as they went in

Check for remaining debris as you go and once it is all gone you can replace the bulb, refit the access panel and move on to the next side

This method has removed all of the debris from the lights and some of the smears and watermarks from the inside of my lenses.

They are not 100% perfect, but they are more than acceptable and probably better that a split and re-assembled pair.

I elected not to wet the cloths as I felt that this would only result in smears and watermarks so did the whole thing dry and happily it has worked a treat.

Hope this helps and good luck!

Your experience is great help for newcomers like me. Perfectly explained by you so no queries in mind at all
 
Where did you guys get the foam pads from? I've been scavenging at home but can't find anything suitable I can cut up! :thumbsdow
 
Where to get foam

Hi Bebs. Try looking on amazon. They seem to have every type of foam possible along with the magnets etc.
 
Top